DataPipe 7 Server – Client Certificate Manager
New to DataPipe 7 Server is the ability to manage Client certificates. You can now create, delete, and import certificates into the DataPipe Server.
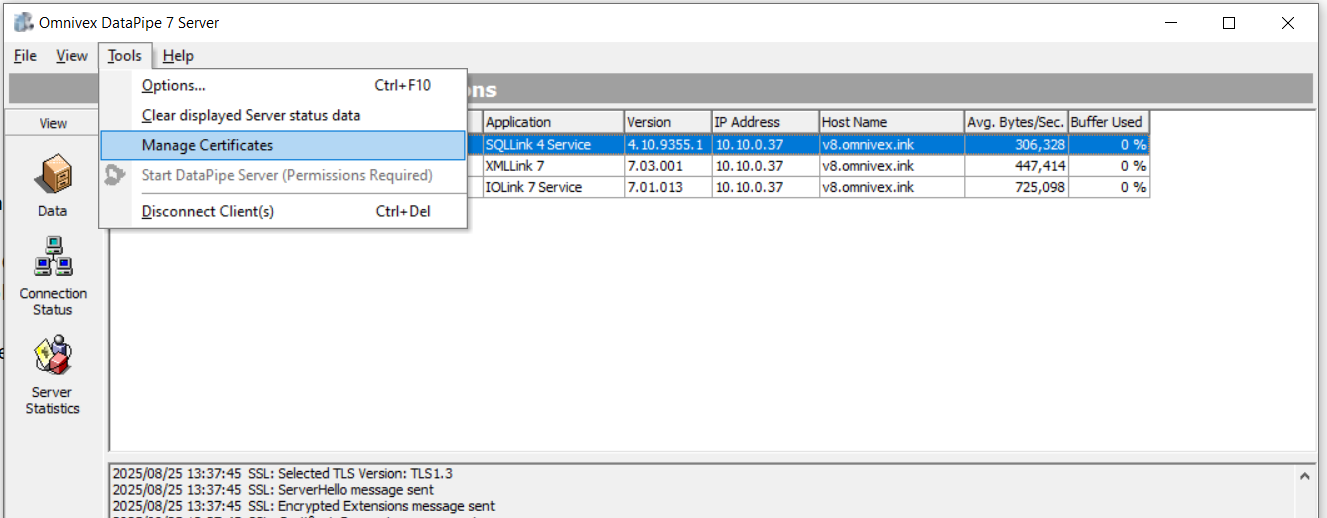
Manage Certificates
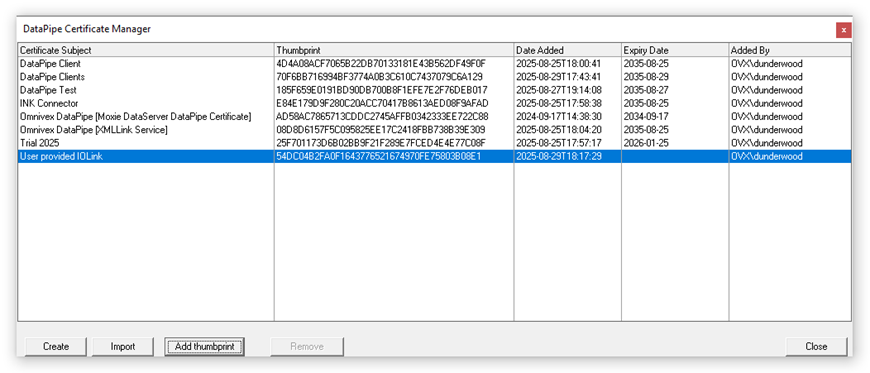
You can visually see the certificates that are accepted by this DataPipe Server:

Create a Client Certificate
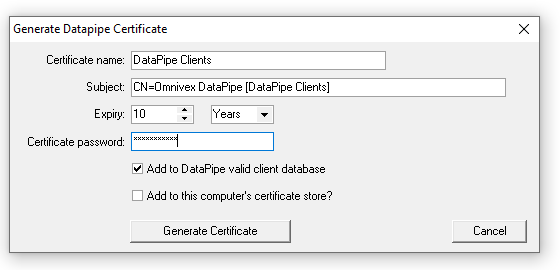
After naming your certificate you can define a date range that this certificate is valid.
This certificate can be used in Omnivex applications such as Moxie Data Server, DataPipe Client, XMLLink, SQLLink, and IOLink.
The password is used to protect the generated certificate when distributing it within your network. This password is required when importing onto a Client PC.
[x] Add to DataPipe valid client database will place this certificate into this DataPipe Server’s list of valid certificates for incoming client connections.
[x] Add to this computer’s certificate store? Will automatically install this certificate on the PC you are generating the certificate. This can be useful for testing DataPipe client apps locally on this machine.
Depending on where the client certificate is installed (in the Current User or Local Computer store) you may need elevated privileges to have DataPipe client work properly.
Current User store: You can run the DataPipe client as a normal user.
Local Computer store: You will need to run the DataPipe client as an administrator.
Generate Certificate
Click [Generate Certificate] to produce and save a certificate to the file system.
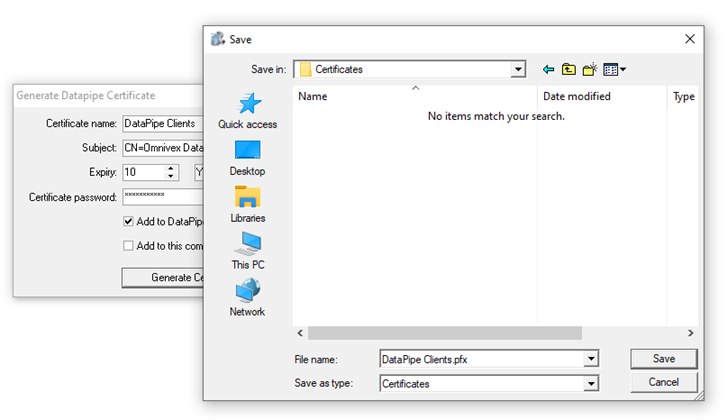
Name your certificate and choose a location to store it for later distribution. Be sure to save your certificate.
At the end of this document you can see how to install the certificate on another PC to be used when connecting to this DataPipe 7 Server.
Import a Certificate
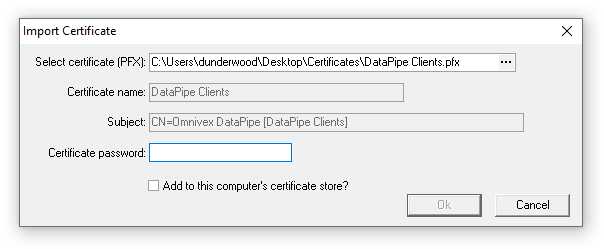
The import feature can be used to add a certificate to our list of valid certificates by importing a generated pfx certificate file.
Enter the Password to allow reading of the certificate.
[X] Add to this computer’s certificate store? Will install the certificate into the DataPipe 7 Server’s certificate store for any local testing you may wish to try.
Depending on where the client certificate is installed (in the Current User or Local Computer store) you may need elevated privileges to have DataPipe client work properly.
Current User store: You can run the DataPipe client as a normal user.
Local Computer store: You will need to run the DataPipe client as an administrator.
Add Thumbprint
Sometimes a user’s PC may have an installed certificate they wish to use but don’t have the certificate file to import. In this case we can ask the user to send us the thumbprint pattern that we will add to our valid certificate list.
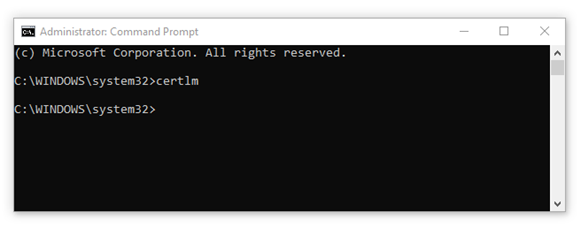
On the remote PC run CMD.EXE as an administrator. Enter in certlm
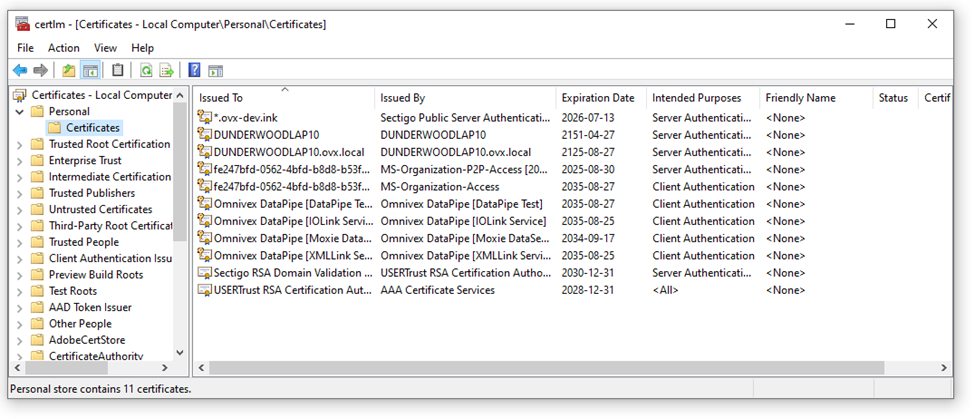
Here is a list of certificates on the remote PC under Personal\Certificates. One of the certificates installed on this PC was generated in the past for IOLink.
By looking at the details I can obtain it's unique thumbprint.
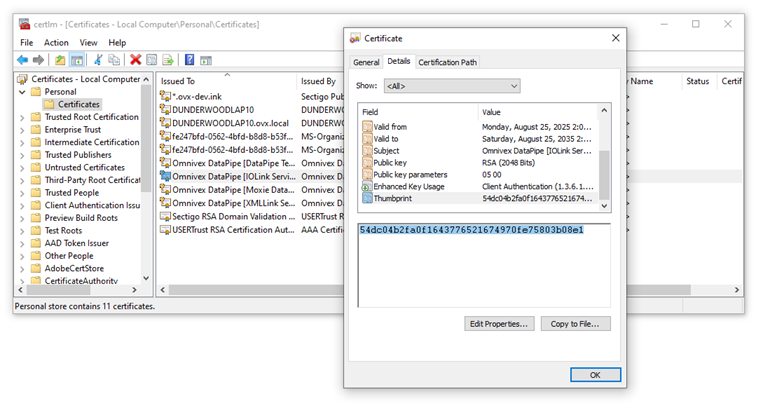
Copy this thumbprint and forward to the administrator of the DataPipe 7 Server. Now enter this information into the “Add Thumbprint” dialog box along with a temporary name.
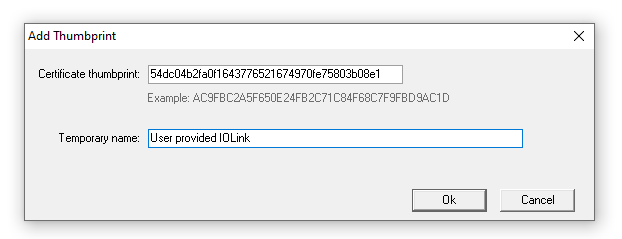
This will now appear in your valid Certificate list.
Once this client connects it will update all the certificate information along with name and expiry date information.
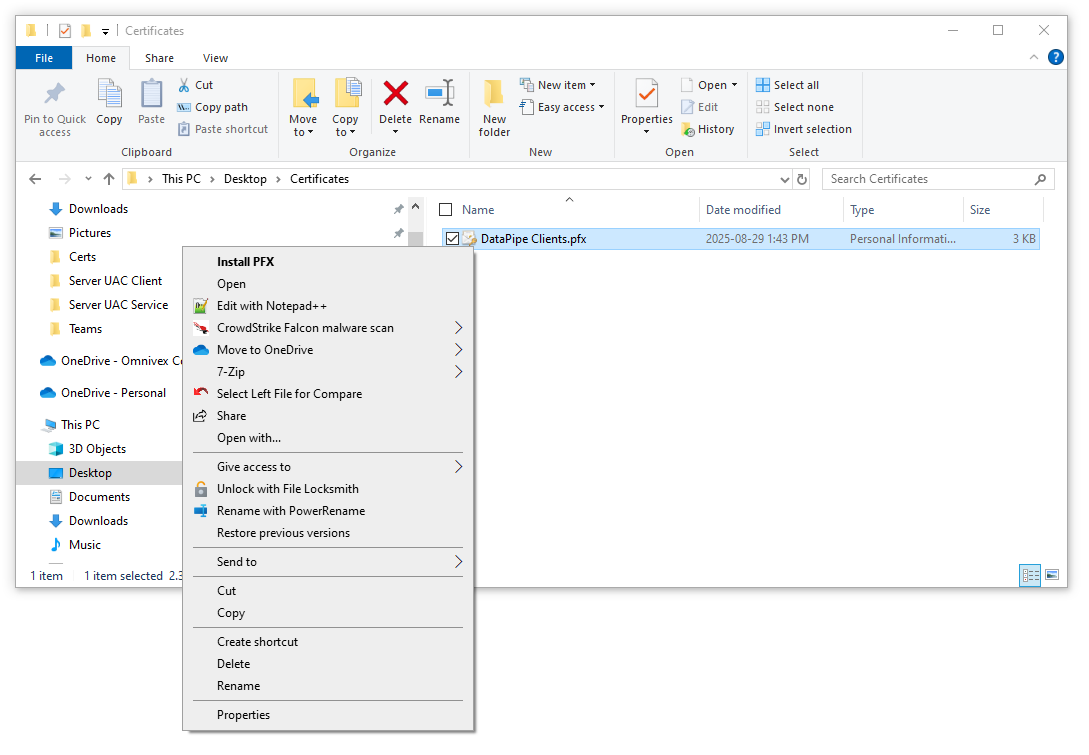
Installing a Certificate on a Client PC
Copy your new certificate onto the PC that you wish to install an Omnivex DataPipe client application.
Right click on DataPipe Client.pfx and select install.
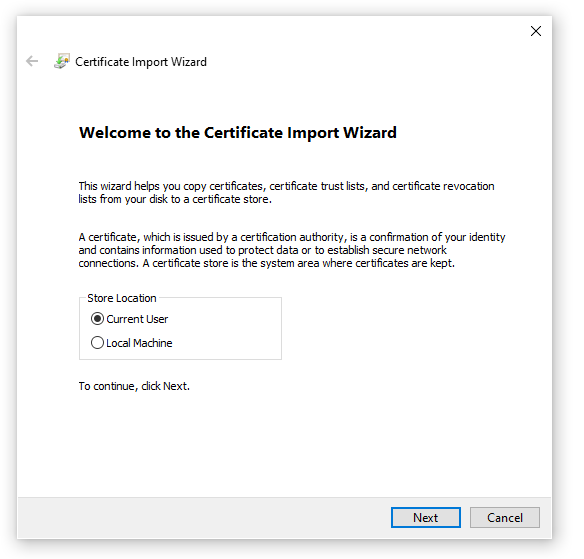
Choose the Store location.
- Select Current User for “DataPipe Client” only since it is a Windows application.
- Select “Local Machine” for all Omnivex Services including:
- Moxie Data Server
- SQLLink 4
- XMLLink 7
- IOLink 7
Depending on where the client certificate is installed (in the Current User or Local Computer store) you may need elevated privileges to have DataPipe client work properly.
Current User store: You can run the DataPipe client as a normal user.
Local Computer store: You will need to run the DataPipe client as an administrator.
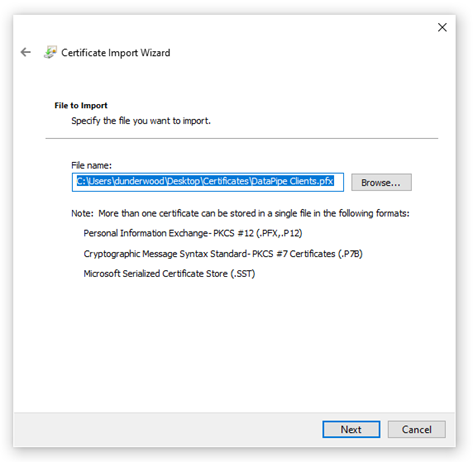
Select the certificate file. It will be preloaded with your certificate file so click <Next>.
Certificate Password
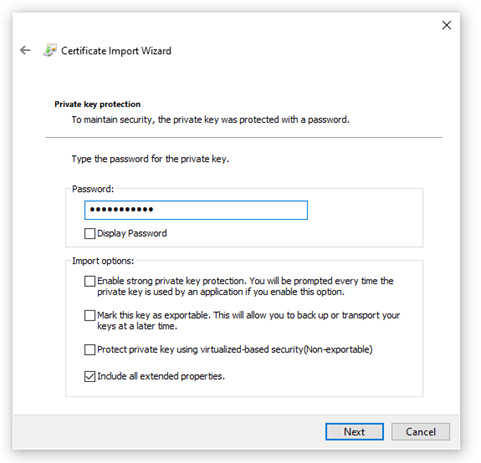
This is the Password provided by the Certificate creator who generated the certificate. You can leave all the check boxes in their default state. Click <Next>
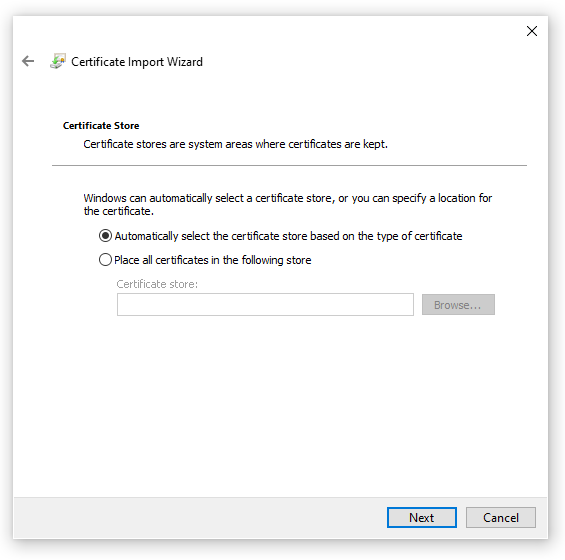
Once again, you can leave the default setting and click <Next>.
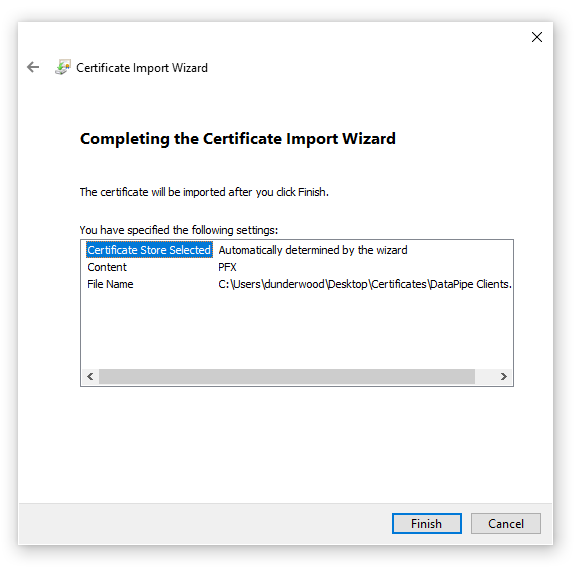
Click <Finish> to install your certificate.
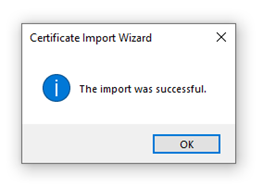
You have successfully imported a certificate that can be used to contact the DataPipe 7 Server.